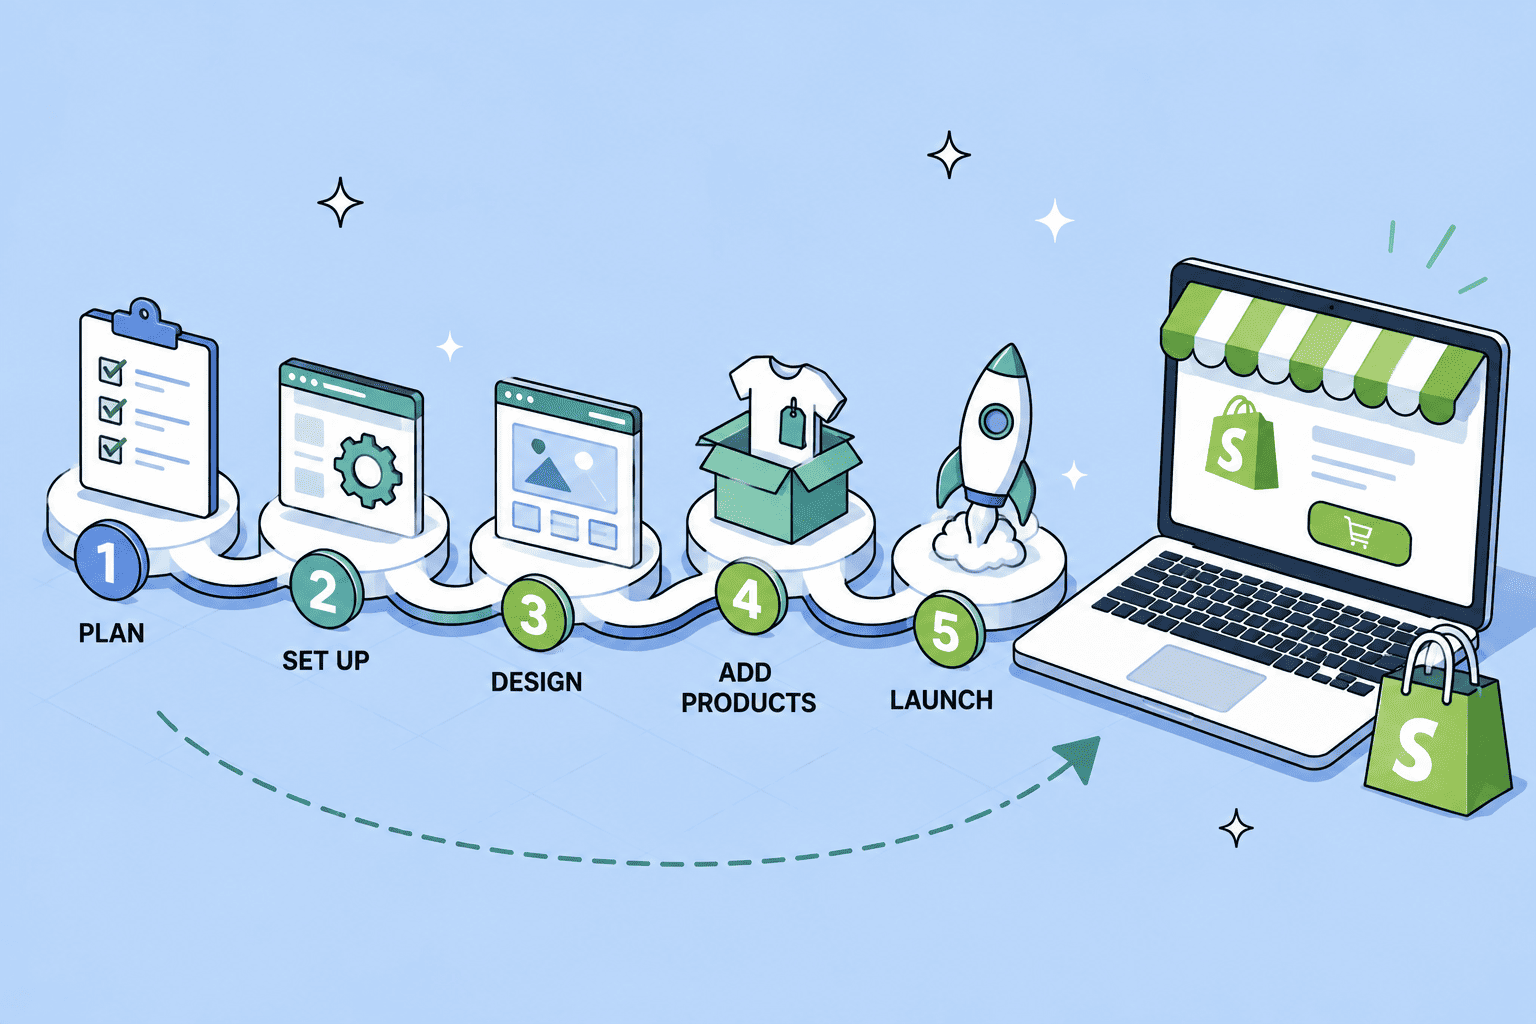
Step-by-Step Guide to Launching a Shopify Store
TL;DR: Here’s the step-by-step guide to launching a Shopify store: sign up, pick a plan, choose a theme, add products, set up payments and shipping, configure policies, connect a domain, install a few essential apps, then test and launch. That’s about 9 real steps. A bare-bones store can go live in a weekend; a fully polished one usually takes 1 to 2 weeks if you’re writing your own product content.
Before you start: what to have ready
This works as a shopify setup guide whether you’re launching a dropshipping store or a made-to-order brand. You’ll move faster if you have three things decided before you open Shopify’s signup page. What you’re selling, even a rough first product list. A store name you’re reasonably happy with. And a plan for product photos, whether that’s your own photography, supplier images, or a placeholder plan for now. None of these need to be final. Shopify lets you change almost everything after launch, but having a starting answer to all three keeps you from stalling out at step one.
Think of this less as a rigid shopify store checklist and more as a sequence where each step unlocks the next. You can’t meaningfully set up shipping rates before you know what you’re selling, and you can’t write good product descriptions before you’ve picked a niche. Working through the steps in order, rather than jumping around, is what actually saves time when creating first Shopify store setups.
Step 1: Sign up and answer the setup questions
Go to Shopify’s signup page and enter an email, password, and store name. Your store name becomes part of your default Shopify URL (yourstorename.myshopify.com), so pick something you don’t mind seeing there even if you plan to connect a custom domain later. Avoid overly literal names tied to one specific product; a name that only fits your first item makes it awkward to expand your catalog later.
One detail worth knowing before you commit: your myshopify.com URL can only be changed once after your account is created. Pick carefully, since a second rename isn’t available through normal account settings.
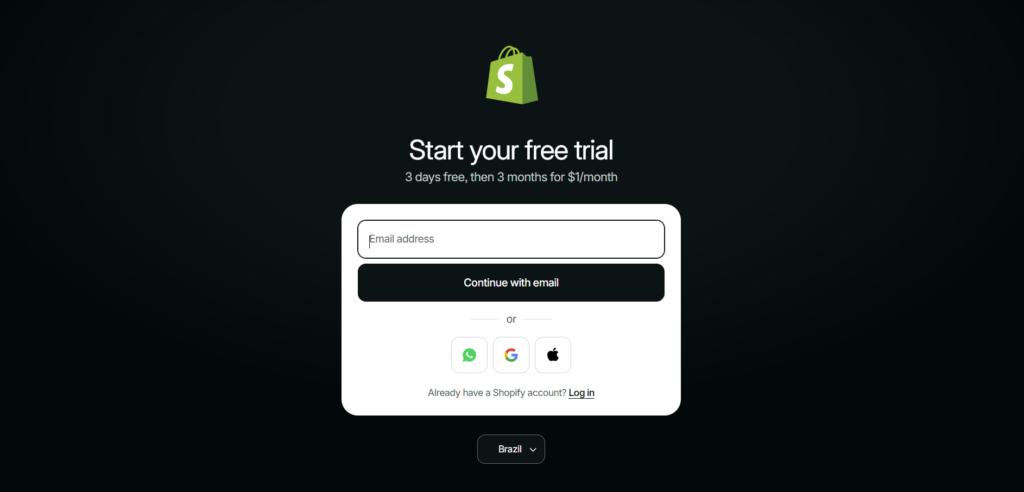
Shopify then asks a series of questions about your business: what you’re selling, whether you’re new to ecommerce, and your expected sales volume. These are optional to answer in detail. You can skip most of them, and they only affect which app and theme suggestions Shopify shows you afterward, not your actual store setup. This starts your free trial, currently 3 days with no credit card required, so you have a real window to explore before any commitment. Some competing guides claim the trial is 4 days; that figure doesn’t match what Shopify’s own current signup flow or multiple independently verified sources show, so treat any “4-day trial” claim as outdated or simply incorrect.
You’ll also need to be at least 18 years old to open a Shopify account directly. If you’re younger, a parent or guardian needs to set up the account using their own details.
Step 2: Choose your plan
You don’t have to commit to a paid plan on day one. The free trial gives you full access to build the store first. When you’re ready to continue past the trial, Basic ($39/month if billed monthly, or $29/month if billed annually) is where new sellers start. The old Starter plan ($5/month, checkout-link only) was discontinued for new signups in 2026, so Basic is now the real entry point for a full storefront. For the complete cost breakdown by plan, see our Shopify pricing guide.
If you’re deciding between monthly and annual billing on Basic, a simple test helps. If you’re still validating whether the store will work, monthly ($39) keeps you free to cancel without losing a prepaid year. If you’re confident enough to commit, annual ($29/month, billed as one yearly charge) saves about 26% over time.
Step 3: Pick and customize a theme
Go to Online Store → Themes in your dashboard. Shopify’s free theme library covers most standard store layouts well, and a free theme is a completely reasonable choice for a first store, not just a budget compromise. Premium themes ($180 to $500 one-time) mainly buy a more polished starting design.
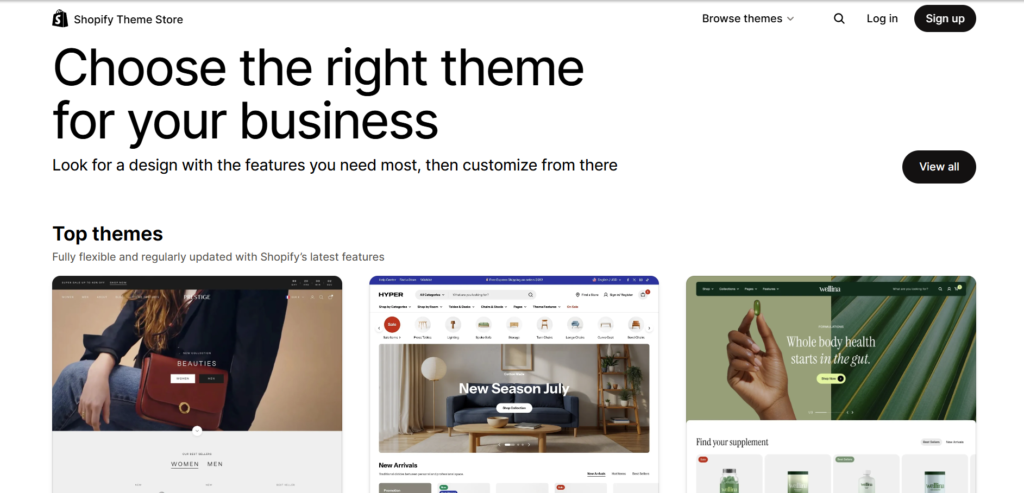
Click “Customize” on your chosen theme to adjust colors, fonts, header layout, and homepage sections without touching code. Focus your first customization pass on just three things: your logo or store name in the header, your homepage’s main banner, and your color scheme matching your brand. Deeper customization can wait until after you’ve added products and can see how the theme actually looks with real content in it.
Step 4: Add your products
Go to Products → Add product. For each product, fill in the title, description, price, at least one image, and inventory quantity. If you’re dropshipping, many supplier apps (AliExpress, Spocket, CJdropshipping) can import product details and images directly rather than requiring manual entry for each item. That saves real time once you’re listing more than a handful of items.
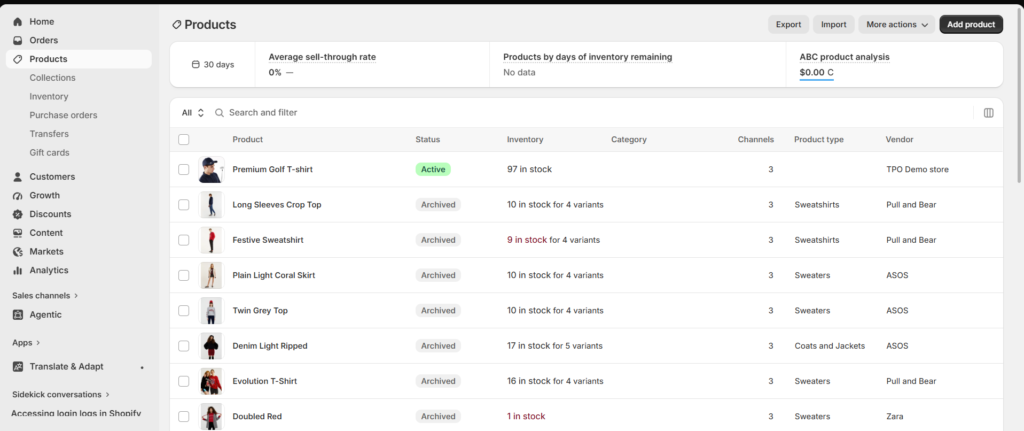
Write descriptions that answer the question a real customer would actually ask. What it’s for, who it’s for, and what makes this one worth buying over an alternative, rather than just listing specs. Products with thin, spec-only descriptions consistently underperform ones with a clear, specific value proposition in the first sentence.
Organize products into collections early, even with just 3 or 4 items in your catalog. Collections (Products → Collections) group related items for easier browsing. Setting this up now, while you only have a handful of products, is far faster than reorganizing 50 products later once your catalog has grown.
Step 5: Set up payments
Go to Settings → Payments. Shopify Payments is the simplest option since it’s built in and avoids the extra transaction fee that third-party processors incur (2% on Basic, dropping on higher plans). You’ll need your business details and a bank account to receive payouts, and Shopify requires two-step authentication (2FA) on your account before activating Shopify Payments, a security step worth setting up early rather than getting blocked by it later. If Shopify Payments isn’t available in your country, you’ll need a third-party gateway like PayPal or Stripe instead. That does carry an additional per-transaction surcharge on top of standard processing rates.
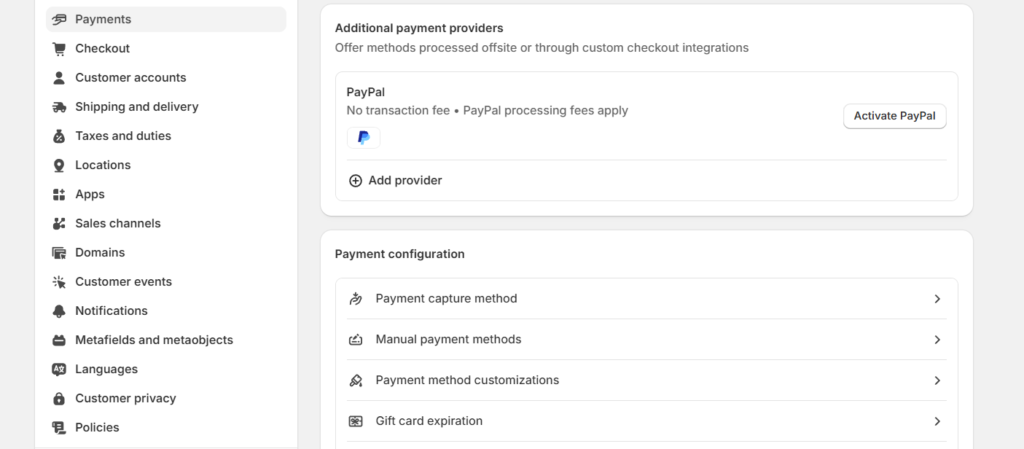
Enable at least one alternative payment method alongside your primary processor if you can. Customers who don’t see their preferred payment option at checkout abandon their cart at a noticeably higher rate than those who do. Adding a second option, PayPal alongside Shopify Payments, for instance, is a low-effort way to recover some of that lost checkout completion.
Step 6: Configure shipping and taxes
Under Settings → Shipping, set up your shipping zones and rates. For dropshipping specifically, many sellers start with flat-rate shipping (a fixed price regardless of order size). Calculating exact rates per supplier gets complicated fast, and you can refine this once you have real order data. Settings → Taxes lets Shopify calculate sales tax automatically based on your business location and where you ship. You should still confirm your specific tax obligations with a professional rather than relying on defaults alone.
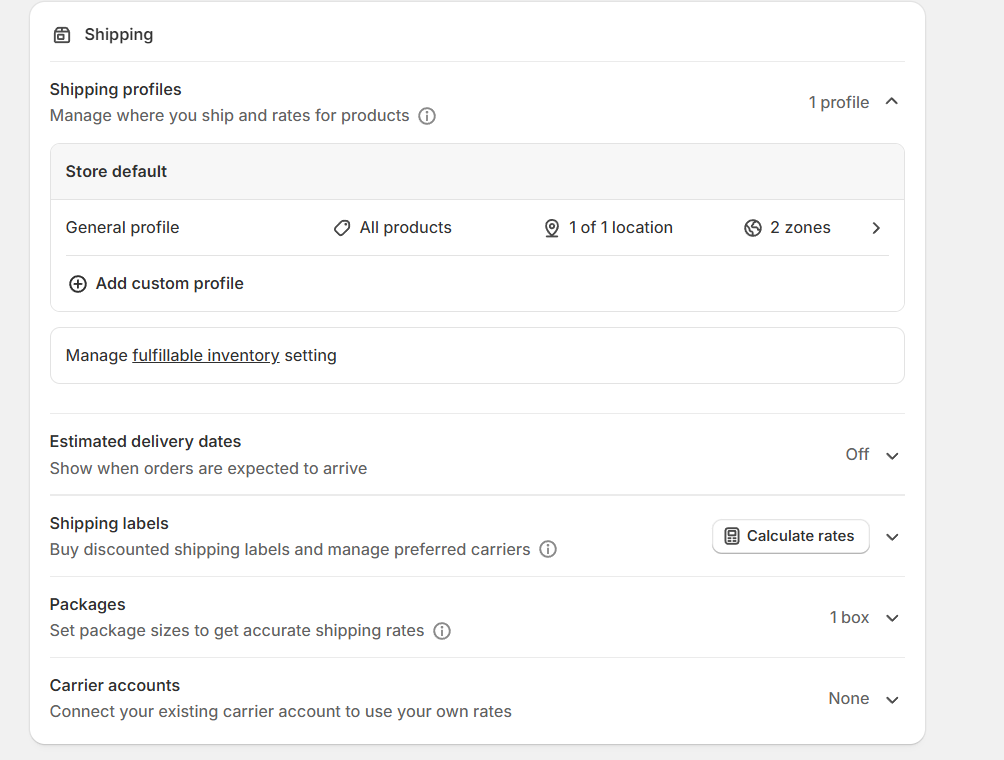
If you’re shipping internationally, set clear expectations upfront in your shipping policy about delivery windows. A 2 to 3 week wait from an overseas supplier that isn’t disclosed anywhere on the site is one of the most common sources of customer complaints and disputed charges. This is specific to dropshipping.
Step 7: Add your legal pages
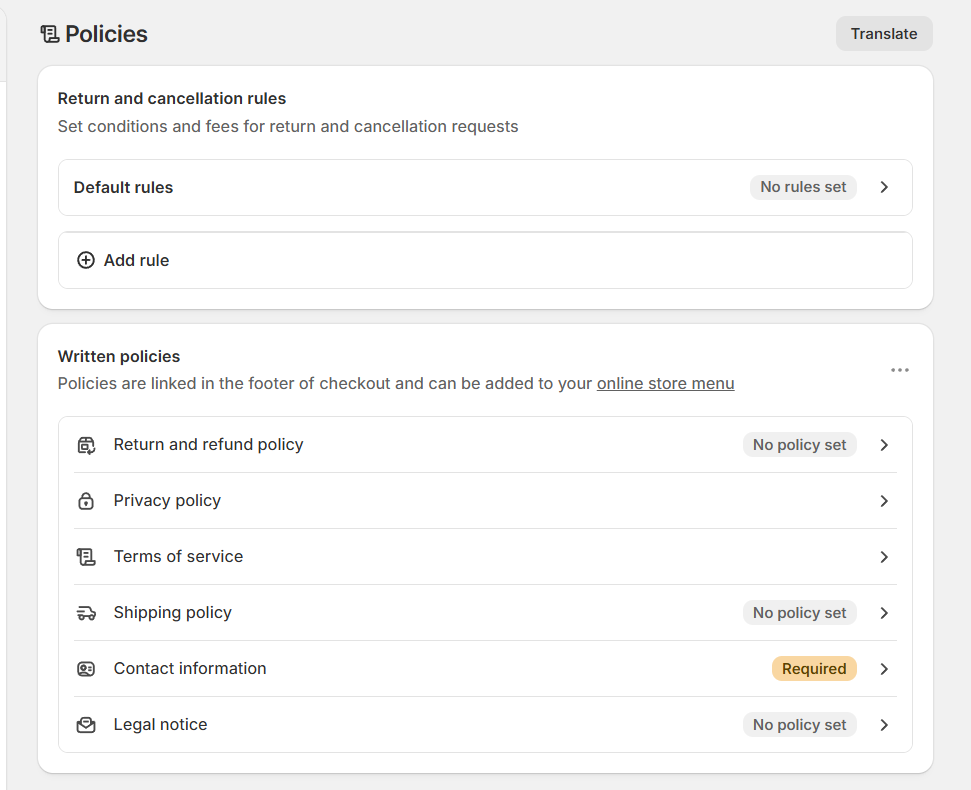
Go to Settings → Policies. Shopify provides template generators for a Privacy Policy, Terms of Service, and Refund Policy, each built to align with common requirements like GDPR and CCPA. Click “Insert template” to get the full generated text, then customize the specifics that apply to your actual business: your real return window, who covers return shipping, and what’s excluded. Don’t publish these templates verbatim without reviewing them. They’re a starting point, not legal advice, and add these pages to your footer navigation so customers can actually find them.
A few named frameworks worth knowing if you’re selling in the US: the CAN-SPAM Act governs your email marketing (opt-out options, honest subject lines), COPPA applies if your store could reasonably attract visitors under 13, and the FTC Act prohibits deceptive business practices in your product claims and reviews. None of these require you to become a lawyer, but knowing the names means you can search for the specific requirement rather than guessing at general “be compliant” advice.
Step 8: Connect your domain
Under Settings → Domains, you can buy a domain directly through Shopify or connect one you already own from a registrar like Namecheap or Google Domains. Connecting an external domain means updating DNS records at your registrar: point the A record to Shopify’s IP and add a CNAME for www. Shopify’s own help documentation walks through this step by step for major registrars if you get stuck. DNS propagation typically takes 24 to 48 hours, and Shopify automatically provisions an SSL certificate once the domain connects, so you don’t need to configure that separately.
Step 9: Install essential apps, then test and launch
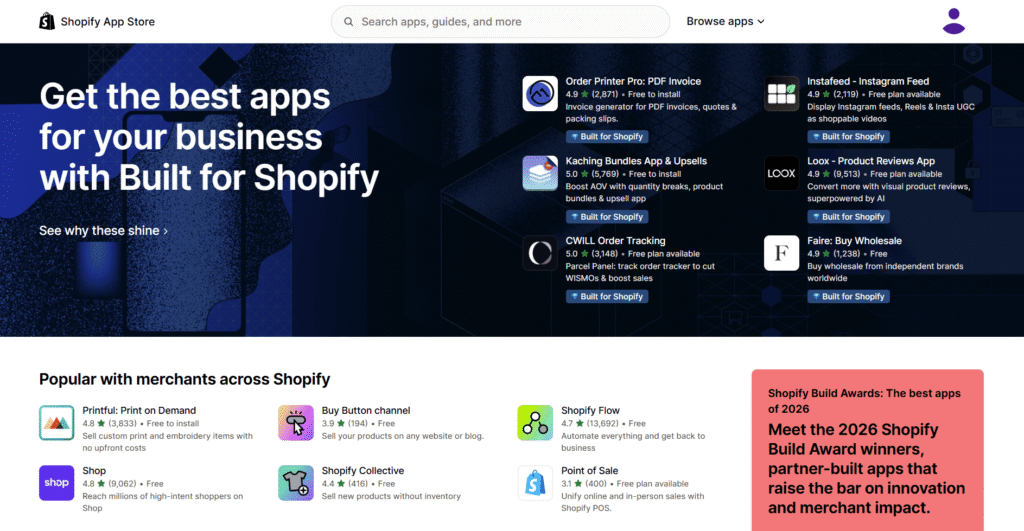
You don’t need 20 apps on day one. Start with 2 to 4: a review app, an email/SMS marketing app, and a supplier integration app if you’re dropshipping. Add more only once you know what problem you’re actually trying to solve. An oversized app stack slows your store down and adds ongoing cost before you’ve made a sale.
Test your checkout before anyone else does
Before going live, place a real test order yourself using Shopify’s test payment mode. Under Settings → Payments, enable “Use test mode,” then run through checkout with a test card number instead of real payment details: Visa 4242 4242 4242 4242, Mastercard 5555 5555 5555 4444, or American Express 3782 822463 10005 all work, with any future expiry date and any 3-digit CVV (4 digits for Amex). This confirms checkout, confirmation emails, and order tracking all work end to end without a real charge. Check your store on mobile specifically, since a majority of ecommerce traffic arrives on phones and a desktop-only check misses real layout problems. Test at least one full purchase path exactly as a customer would. Land on a product page, add to cart, and complete checkout, rather than only checking each page in isolation.
Remove the password page to actually launch
Once that test order completes cleanly, remove your password page under Settings → Preferences and your store is live. This single setting is the one thing every new store owner forgets at least once. Everything else can be perfect, but if the password page is still active, real customers see a “coming soon” screen instead of your store. Search engines also won’t index a password-protected store, so removing this is what actually starts your SEO clock, not just your ability to take orders. Indexing itself isn’t instant either: expect roughly 48 to 72 hours before Google shows your new pages in search results, so don’t be alarmed if you can’t find your own store on Google the same day you launch.
Launching a Shopify store: realistic timeline
For someone who’s never used Shopify before, expect roughly 2 to 3 hours on day one just picking a theme and getting familiar with the dashboard, since Shopify’s interface has more sections than it first appears. Product setup (step 4) is usually the slowest part if you’re writing original content for each item rather than importing from a supplier. Budget a full day or two if you’re listing more than 10 to 15 products yourself. A realistic total for a genuinely finished first store, not just a technically functional one, breaks down into two paths. A weekend for a bare-bones launch, or 1 to 2 weeks for something more polished.
Anyone launching their first Shopify store tends to underestimate step 4 and overestimate step 3. Theme customization looks like it should take longest since it’s the most visual step. But most first-timers land on a workable design within an hour or two using a free theme’s default settings. Product content is the part that actually eats the calendar, especially with more than a handful of items to write for.
If you’re building this specifically for dropshipping, our guide on starting dropshipping with little to no money covers the realistic budget for the steps above. Our breakdown of what the free trial actually includes is worth reading before step 1 if you haven’t started your trial yet.
Beyond the storefront: expanding to other sales channels
The 9 steps above get a real storefront live, but that’s a starting point, not the finish line. Once your core store is running, connecting a few additional sales channels is usually the next real move, not a new theme or more apps.
Google & YouTube requires a Google Merchant Center account plus visible contact info and policy pages already in your footer, both of which you’ll already have from Step 7. Facebook and Instagram by Meta needs a Meta business account and compliance with Meta’s commerce policies. TikTok Shop is available in a specific list of countries, including the US, and has its own product restrictions separate from Shopify’s. None of these are required to launch, but a store that only sells through its own domain is leaving free distribution on the table once the core setup is solid.
FAQ
Setup process questions
Do I need coding skills to launch a Shopify store? No. Every step above uses Shopify’s built-in dashboard and theme customizer, no code required. Custom code becomes relevant only if you want changes beyond what theme settings allow, which isn’t necessary for a first store.
How to create a Shopify store: how many steps does it actually take? Around 9 core steps: signup, plan selection, theme, products, payments, shipping and taxes, legal pages, domain, and apps plus testing. Some guides break this into more granular sub-steps (11 to 12), but the core work is the same.
Can I set up a Shopify store from my phone? Yes, the Shopify mobile app supports most setup tasks, though detailed theme customization and bulk product entry are easier on a desktop browser.
Timeline and readiness questions
What’s a realistic Shopify store tutorial timeline for a total beginner? A weekend for a bare-bones launch, 1 to 2 weeks for a fully polished store with original product content and a tested checkout flow.
Do I need a domain before I launch? No. Your store works on the free yourstorename.myshopify.com address from day one. A custom domain is a straightforward addition you can connect anytime, before or after your first sale.
What’s the biggest mistake first-time Shopify store owners make in the setup process? Spending too long perfecting theme customization before adding real products, and skipping the test-order step before removing the password page. Both delay actually finding out if the product sells.
I’m building EasyCommerce Club to be the ecommerce resource I wish I’d had starting out, plain-language guides, essential information.
Leave a Reply